


How to install the patio heater
Here you can read about the installation of your Wishco-heating lamp. You can also download all of our technical documentation, with illustrations of the correct installations.
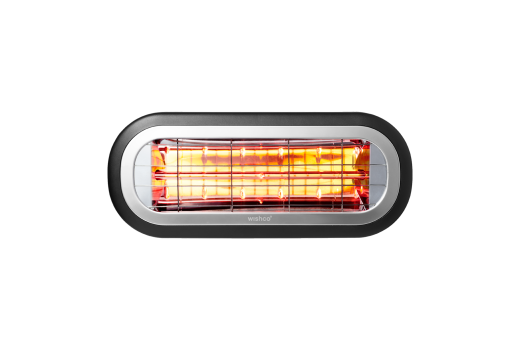
Install your MINI
MINI can be installed on the wall or in the ceiling. You can have it just the way you like with Wishco, and all it takes is a bracket. And perhaps a small screw or two.
Brackets for installation on the wall and in the ceiling are included when you buy a MINI.
Installation on the wall
If you would like your MINI to hang on the wall, you must make sure that the heating lamp is hung at least 1.8 meters above the floor. At the same time, make sure there is a distance of at least 0.5 meters to the ceiling or any adjacent wall. The bracket for installation on the wall is included when you buy a MINI. It is simple to put up and can be tilted at an angle of +/- 45 degrees.
Easy and simple.
Installation in the ceiling
When you install your MINI in the ceiling, the same rules apply as when installing on the wall: a minimum of 1.8 meters from the floor and keep a distance of at least 0.5 meters to an adjacent wall. You put up your standard bracket, mount your MINI, flip on the switch - and you will feel the warmth.
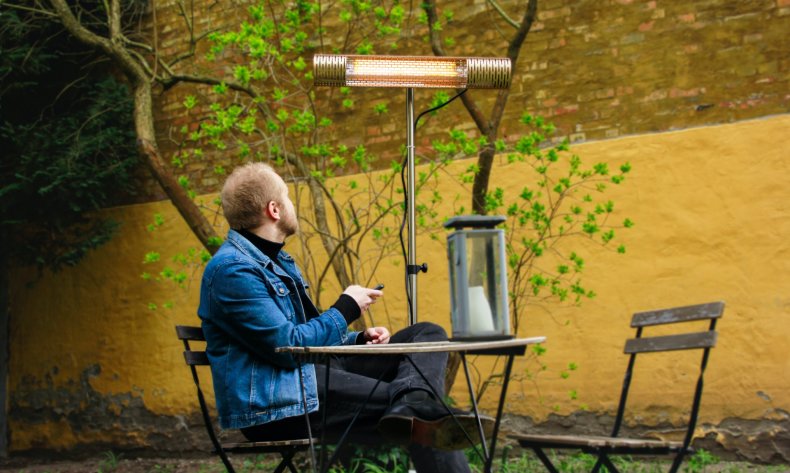
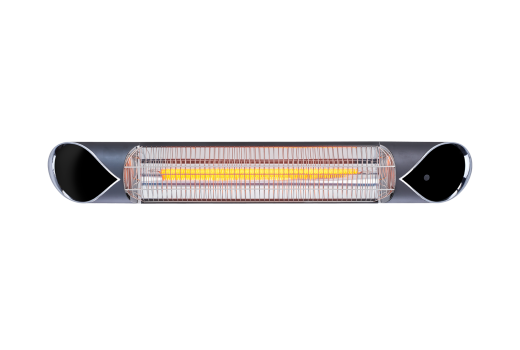
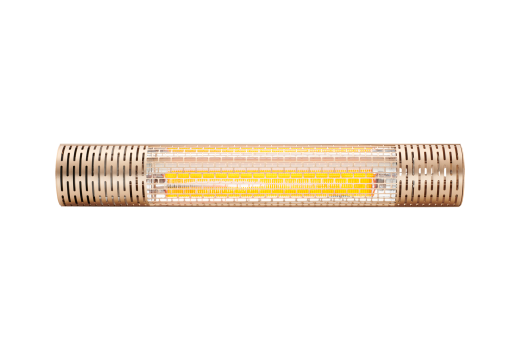
Install your PRO
PRO is the heating lamp with a little extra of everything. It has to be installed high up, because it is powerful - luckily, it is just fine if you cannot reach it unaided. You see, you get a remote control with the PRO, and it makes it easy for you to adjust the heating as needed. Also, PRO can be tilted at an angle of +/- 40 degrees, for you to better direct it towards where you are. PRO warms you up in a quite exclusive way. Nothing less will do.
The bracket for installation on the wall and in the ceiling are included when you buy a PRO.
The Basepod and the Tripod must be bought separately
Installation on the wall
Because PRO is bigger and more powerful than MINI, it has to be installed higher up. Make sure to keep a distance of at least 2.4 meters to the floor, when installing your PRO on the wall. At the same time, make sure there is a distance of at least 0.5 meters to the ceiling or any adjacent wall.

Installation in the ceiling
When you install your PRO in the ceiling, the same rules apply as when installing on the wall: a minimum of 2.4 meters from the floor and, also, keep a distance of at least 0.5 meters to an adjacent wall. That way, your PRO is just as safe as it is powerful and elegant.
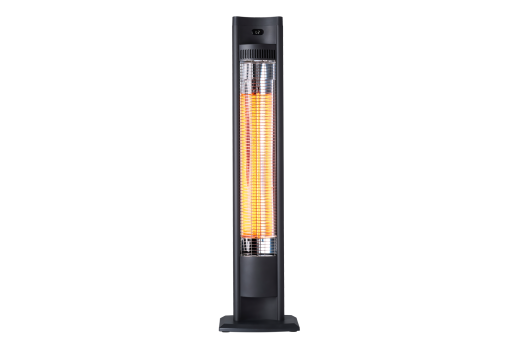
Mounting on a Tripod or Basepod stand
Of course, it should be possible for you to bring along your PRO - no matter if you want to put it on the lawn, in the front garden or at the summerhouse. Move it around as you wish. You can do that with one of the Wishco basepods. And, of course, it is as easy as it sounds. Simple installation, secure warmth. Anywhere.